Featured

Luminar Neo - My First Impressions

Mystical Woods - move mouse over  for an before / after     In December of last year I was asked whether I'd like to take a look and try out the photo edit software Luminar Neo. So I was provided with the program and the extensions pack. At the moment there are seven extensions available, I installed four of them that I thought could be useful in my workflow. These are Noiseless Ai, Upscale Ai, Supersharp Ai and Magic Light Ai.  Until I was asked to try Luminar Neo, I had not heard of the program, but the opportunity to partner with Skylum and make some additional money convinced me to take a look. That means: This text contains affiliate links. What is Luminar Neo? Skylum's Luminar Neo is a photo editing tool that makes editing your photos quite simple. Many of its features are enhanced by artificial intelligence that lead to sometimes stunning results and are intuitive and easy to use. LUMINAR NEO - special offer until 28 February 2023 Lightroom and Photoshop plugin I almo
How to apply the Orton Effect

The Orton Effect
There are several ways to apply this effect. This is only one- but it works quite nicely.

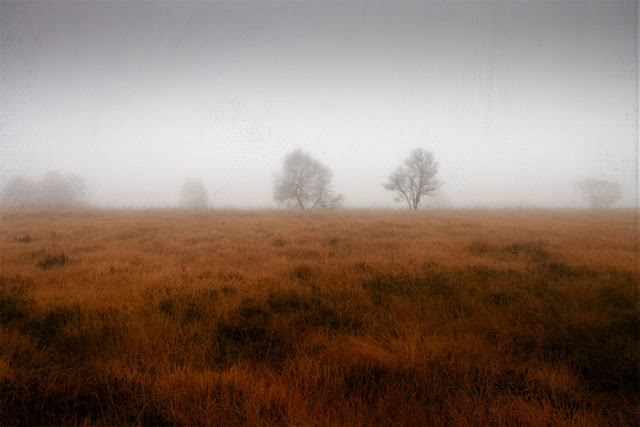
Every now and then I like to apply a trick that you can create in Photoshop to give your pictures a nice soft glow and somewhat out of focus look. It is called "Orton Effect".


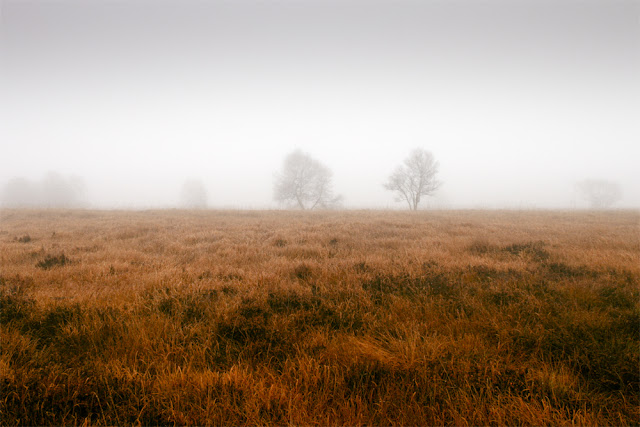
purple grass and fog

I used the effect on this picture, because I wanted to add a subtle  soft glow to the red grass. On other pictures the effect creates sometimes a dreamy atmosphere.

Here are two other pictures where I used it:


Tutorial: How to create the Orton Effect

Step 1:

First you have to copy your background picture.

purple grass & fog original
 Step 2:

Then I go to Levels and brighten the copy of the background. I usually set the slider for the mid-tones up to about 1,5 and the slider for the highlights from 255 down to about 230.


That resulted in a much brighter overexposed copy:


Step 3:

Next you have to go to Filters - Blur - Gaussian Blur
I usually set the blur somewhere about 60 to 70 pixel.  And that results in a very blurry pic:


Step 4:


Next thing is to set the blending mode of the background picture from Normal to Multiply!! If the effect is too strong you might reduce the fill or the opacity of the layer.

That is all concerning the effect.


I did some additional processing such as adding textures and correcting the light and the colours. As usual you can take a look at the levels to see what I actually did.


In the case of this picture I had to brighten the foreground (the grass) in several steps, because I lost too much detail with the blurred background copy. In fact all layers that follow including the textures helped to subtly brighten the foreground.

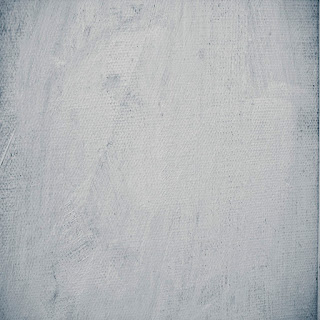
Btw, I used these two textures from my Build your own texture pack:

Carrara

White Canvas Brushes


Here are two links on the Orton Effect:

www.digital-photography-school.com/the-orton-effect-mimicking-darkroom-processes-in-photoshop
www.naturephotographers.net/articles0106/dw0106-1.html


Thanks for reading!

Comments

  1. Very nice effect.
    I like your blog very much, I have a lot to learn from here so I'll be coming back as often as I can. Thanks!

    ReplyDelete

Post a Comment

Popular Posts